
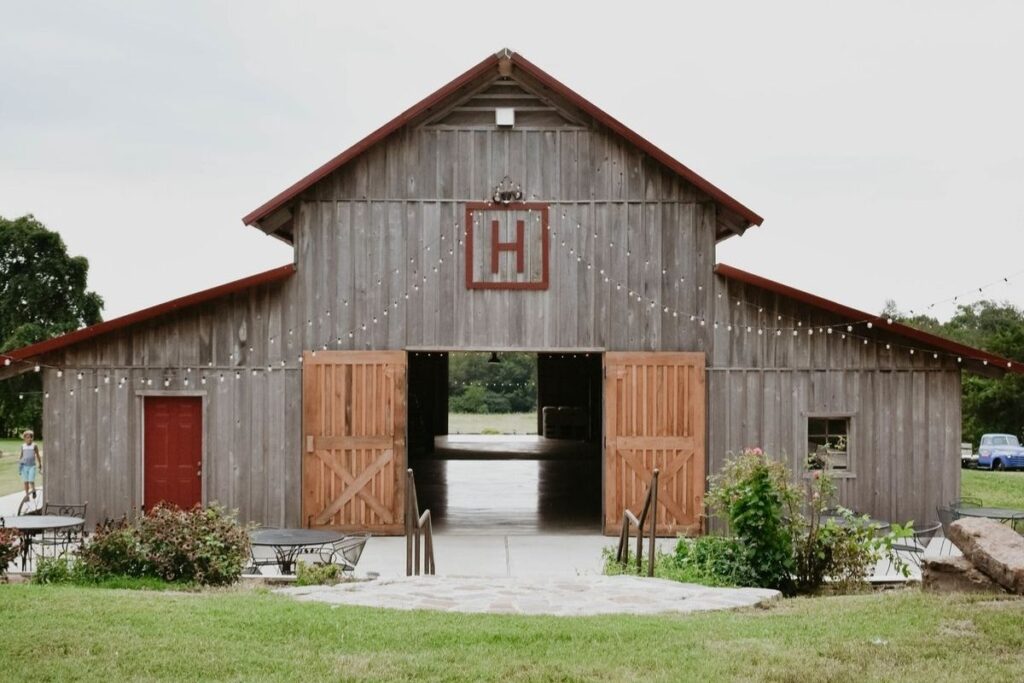
A pole barn looks like a simple structure. Posts, a roof, some steel panels.
Underneath that simplicity is a specific list of components, each one doing a job the others can’t. Skip a quality check on any single piece, and the whole building inherits that weakness.
Here’s what’s actually in a pole barn, piece by piece.
Posts, the Backbone of the Whole Building
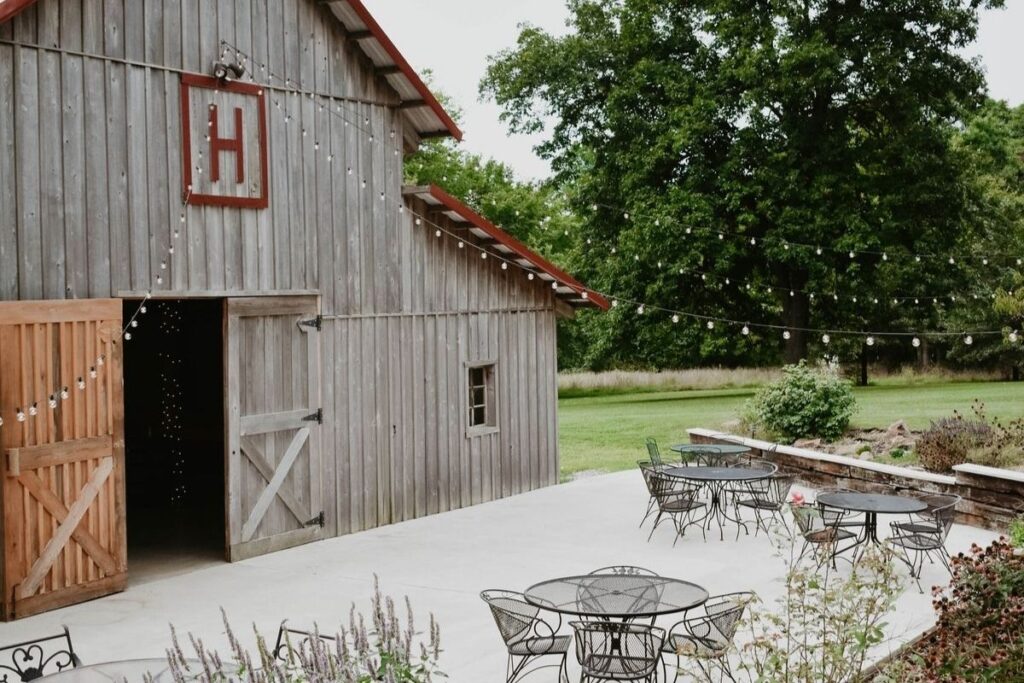
Everything else attaches to these. Get the posts wrong, and nothing downstream matters.
What They’re Made Of
Most posts are pressure-treated lumber, rated for ground contact. Some builders use laminated columns, multiple layers of dimensional lumber nailed or glued together, which adds strength over a single solid post.
Sizing
Post size scales with building width. A 24-foot-wide barn might use 4×6 posts, while a 40-foot barn typically needs 6×6 posts spaced 8 feet on center.
Why Quality Matters Here
A laminated post resists warping and twisting better than a single piece of lumber. It costs more, but it’s the one component you really don’t want to cut corners on.
Trusses, the Shape of the Roof
Trusses span from wall to wall, creating the triangular framework the roof panels attach to.
These are engineered, not improvised. A quality truss is rated for your local snow and wind load, not just a generic spec pulled from a catalog.
Spacing matters too. Most trusses sit 4 feet on center, though wider or narrower spacing shows up depending on the load requirements and roof pitch.
Girts, the Horizontal Backbone for Siding
Girts run horizontally between the posts, and the wall siding screws directly into them.
Without girts, you’d have nothing flat to attach the metal panels to. They’re a small, unglamorous component, but the wall system doesn’t function without them.
Purlins, the Same Idea for the Roof
Purlins do for the roof what girts do for the walls. They run across the top of the trusses, giving the roof panels something to fasten to.
Purlins also help distribute the roof load evenly across the truss system instead of concentrating weight at single points.
Metal Roofing and Siding, the Visible Shell
This is the part everyone sees, and the part that takes the most weather damage over time.
Exposed Fastener Panels
The most common, cost-effective option. Panels overlap each other, secured with visible screws. Affordable, but the exposed fasteners need occasional checking over the years.
Standing Seam Panels
A more architectural look, with concealed fasteners and raised seams that lock together. Costs more, but eliminates the exposed screw heads that can loosen or leak over time.
Steel Gauge
Lower gauge numbers mean thicker steel. Standard is usually 29-gauge, but premium packages often bump up to 28-gauge or even 26-gauge for better dent and storm resistance.
Fasteners, the Detail Most People Skip Over
Screws and bolts hold the entire shell together, and they matter more than their size suggests.
Stainless Steel Screws
The standard for a reason. A quality screw holds roughly 700 pounds of pull-out resistance, compared to around 250 pounds for a nail.
Placement
Fasteners driven into the flat area between panel ribs create a tighter seal than ones driven into the rib itself. This small detail is a common difference between a roof that stays watertight and one that doesn’t.
Concrete Footers, the Part That’s Often Separate
Footers anchor each post in the ground, usually poured locally rather than shipped as part of a kit.
Most kit packages exclude concrete entirely, along with floor slabs and aprons. It’s worth confirming this upfront, since concrete work can add meaningfully to your total project cost.
Doors and Windows, More Than Just an Opening
These aren’t an afterthought. They affect insulation, natural light, and how the building actually gets used day to day.
Walk Doors
Look for a thermal break between the interior and exterior surfaces. Without one, the door’s advertised insulation rating means very little in practice.
Overhead Doors
Insulated options cost more upfront but pay it back in temperature control if the building will see regular use.
Windows
Dual-paned, low-conductivity glass holds up best. Trim matters too, since box trim with a rubber gasket seals tighter than standard J-channel.
Insulation, the Component That’s Easy to Skip and Hard to Add Later
If the building will be heated, cooled, or used for anything beyond cold storage, insulation belongs on the list from the start.
Fiberglass is the most common and affordable option. Foam and cellulose cost more but offer higher R-values for the same thickness.
What a Complete Kit Should Actually Include
Not every “complete kit” lives up to the name. Here’s what a genuinely thorough one covers.
Code-compliant trusses engineered for your snow and wind load, premium-grade laminated posts, steel roofing and siding with a real warranty, and every fastener needed for assembly. Detailed plans for permitting should be included too, not just a basic sketch.
What’s usually missing, regardless of how complete the kit claims to be, is concrete. Footers, slabs, and aprons are almost always priced and poured separately.
Frequently Asked Questions
What’s the difference between a girt and a purlin?
Girts run horizontally along the walls and support the siding. Purlins do the same job on the roof, giving the roofing panels something to attach to.
Why do some pole barn kits use laminated posts instead of solid lumber?
Laminated posts combine multiple layers of wood for added strength and resistance to warping. They cost more than a single solid post but hold up better over the building’s lifespan.
Does a pole barn kit usually include concrete?
Rarely. Most kits cover the structural and exterior shell materials only. Concrete footers, slabs, and aprons are typically quoted and poured separately.
What steel gauge is best for a pole barn roof?
29-gauge is the industry standard, but 28-gauge or 26-gauge steel offers better dent resistance and a longer warranty if your budget allows for the upgrade.
Conclusion
A pole barn is only as strong as its weakest component, and most of the components that matter most are hidden once the building is finished. Check post quality, truss engineering, and fastener type before you sign off on any materials package, since these are the details that separate a building that lasts decades from one that doesn’t.