
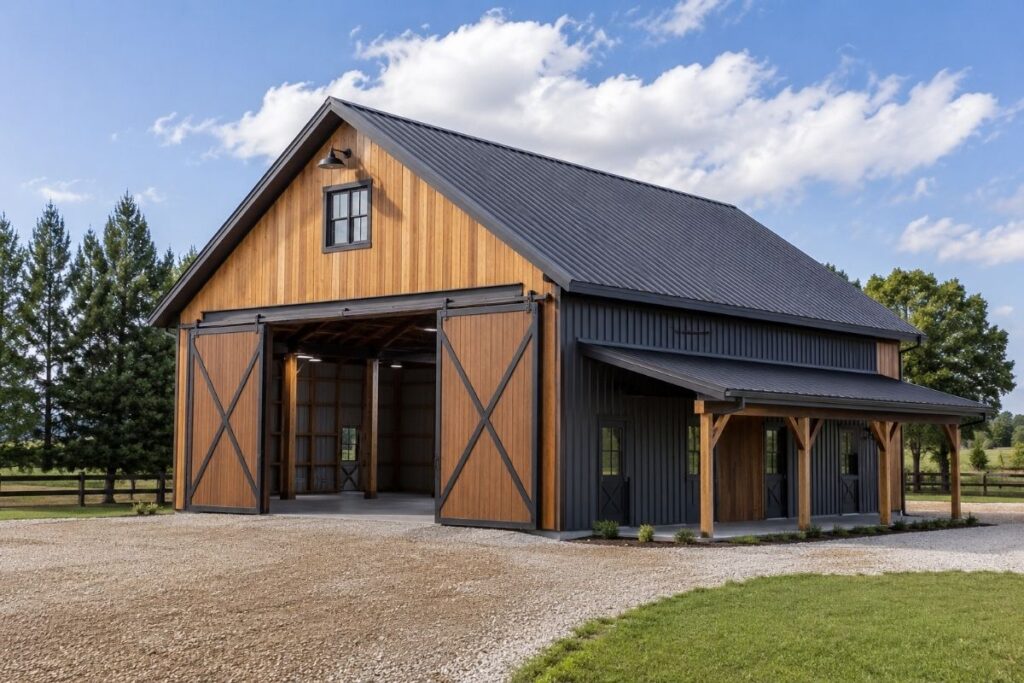
A pole barn looks simple from the outside. Posts, a roof, some siding.
The process behind it isn’t quite as simple. Skip a step or rush the site work, and you’ll be paying for it years later in post rot, settling, or a roof that leaks at every seam.
Here’s the build broken down in the order it actually happens.
Step 1: Planning and Permits, the Part Nobody Wants to Skip
Before a single post goes in the ground, you need a plan and a permit.
Defining the Build
Decide what the barn is actually for. Storage, a workshop, a barndominium shell, the purpose drives the size, the height, and how many doors you’ll need.
Permits and Setbacks
Most counties require a permit before construction starts. They’ll also enforce setback rules, the minimum distance your building has to sit from property lines, roads, and waterways.
Skip this step and you risk a stop-work order mid-build. Or worse, a forced teardown.
Step 2: Site Prep, Where Most Problems Actually Start
Site prep doesn’t look exciting. It’s the step that determines whether your barn lasts decades or starts shifting within a few years.
Clearing
Trees, stumps, brush, anything in the footprint or the equipment’s path comes out first.
Grading
The ground gets shaped to slope away from the building, usually 2 to 4 percent. That slope is what keeps water from pooling against your posts.
Compaction
A gravel or crushed stone pad goes down in layers, each one compacted before the next. Skip this and your floor settles unevenly later.
Get the grading wrong here, and no amount of good framing fixes it down the line.
Step 3: Setting the Posts
This is where the building actually starts standing up.
Holes get dug to a specific depth, usually a third to half the post’s above-ground height. A post standing 10 feet tall typically needs 3 to 5 feet in the ground, depending on soil type and frost line.
Posts go in, get checked for plumb, and get set in concrete. Precision matters here. A post that’s even slightly off will throw off every truss and panel that attaches to it later.
Step 4: Framing the Skeleton
With posts set, the frame goes up next.
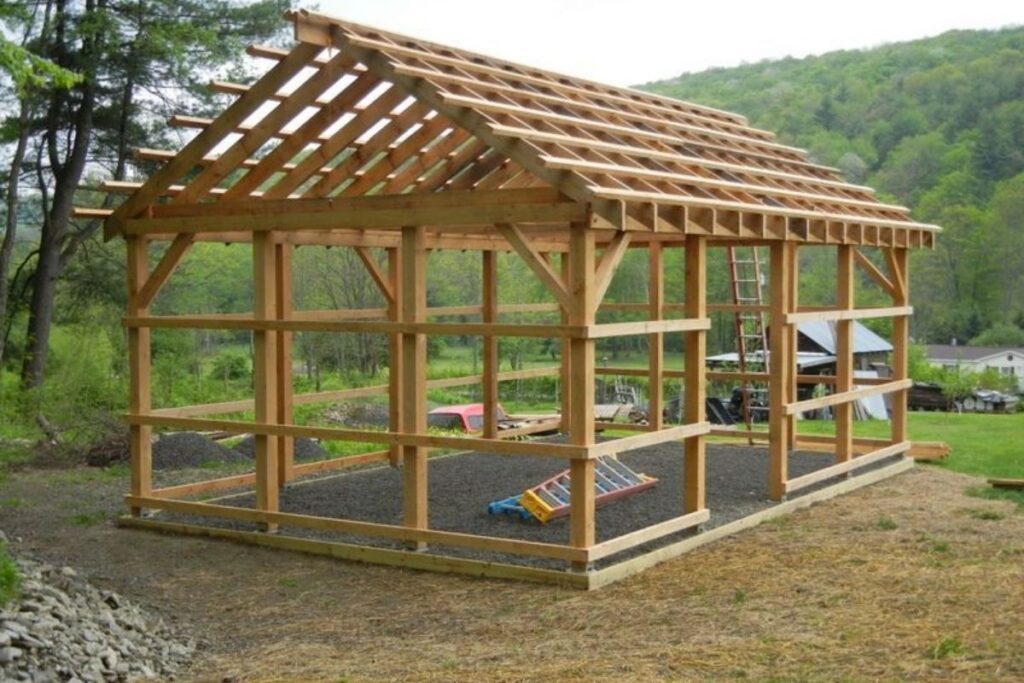
Horizontal beams connect post to post. Trusses span across the top, creating the shape of the roofline. This is the stage where the barn stops looking like a row of poles and starts looking like a building.
Wall girts go on next, horizontal supports that siding will eventually attach to. The whole frame works together once it’s complete, distributing wind and weight across the structure instead of concentrating it at any single post.
Step 5: Roofing and Siding
Once the frame is solid, the building gets its skin.
Roofing
Steel panels are the standard choice, run vertically from eave to ridge. Purlins carry the load, so heavy sheathing underneath usually isn’t necessary.
Siding
Metal panels are common, though wood is still an option depending on the look you’re after. This is also when doors and windows get framed into the openings.
By the end of this step, the building is weathertight. Rain and wind stay outside.
Step 6: Doors, Windows, and Finishing Touches
The shell is up. Now it gets functional.
This stage covers overhead doors, walk-in doors, windows, and any trim work that ties the exterior together. Most pole barn builders stop here, since the shell is typically their full scope of work.
Anything beyond this, electrical, plumbing, insulation, a poured concrete floor, usually falls to separate contractors. It’s worth asking upfront exactly where your builder’s responsibility ends.
Pole Barn Construction Timeline: How Long Does It Actually Take?
Timelines vary by size and how busy your local permitting office is, but here’s a general sense of the pace.
| Phase | Typical Timeframe |
| Planning and permitting | 2 – 6 weeks |
| Site prep | 1 – 2 weeks |
| Post setting and framing | 1 – 2 weeks |
| Roofing, siding, and finishing | 1 – 2 weeks |
Most residential-scale pole barns go from broken ground to finished shell in 2 to 4 weeks once construction actually starts. Permitting is usually the part that drags, not the building itself.
What Pole Barn Builders Don’t Always Tell You Upfront
A few things worth asking before you sign anything.
Most builders handle the shell only. Interior work, like insulation, electrical, and finished floors, gets subcontracted separately unless you specifically ask for a turnkey package.
Site prep can cost more than people expect. A flat, well-drained lot needs far less work than a sloped or clay-heavy site, and that difference shows up in your final invoice.
Weather affects scheduling more than most people plan for. Frozen ground or heavy rain can push your timeline back regardless of how organized your builder is.
Frequently Asked Questions
How deep do pole barn posts need to be set?
Most posts go in at a third to half their above-ground height, so a 10-foot post typically needs 3 to 5 feet of depth. Soil type and your local frost line both affect the exact number.
Do I need a permit to build a pole barn?
In most areas, yes. Permits confirm your building meets local zoning, setback, and code requirements, and skipping this step can lead to fines or a forced teardown later.
How long does a pole barn typically last?
With proper site prep and maintenance, a well-built pole barn can last 40 to 60 years or longer. Drainage and post quality are the two biggest factors in long-term durability.
Can I pour the concrete floor before the framing goes up?
Most builders pour the floor after framing is complete, since construction traffic during framing can crack or damage a finished slab poured too early.
Conclusion
Pole barn construction follows a clear sequence for a reason, and skipping ahead almost always costs more than it saves. Get the permits sorted, take site prep seriously, and the rest of the build moves fast because the hard part is already done right.